Building a garden shed is a rewarding project for any backyard enthusiast. Not only does it provide a dedicated space for storing garden tools and supplies, but it can also serve as a charming focal point for your outdoor space. If you’re considering building your own shed, this step-by-step guide will help you navigate the process like a pro.
First things first: planning is essential. Before you start construction, check local building codes and regulations to ensure your shed complies with any size, height, and permit requirements. You’ll also want to choose a suitable location that provides easy access to your garden and has a level surface for a solid foundation. Consider the shed’s purpose and select a size that accommodates your needs.
Once you’ve finalized the plans and prepared the site, it’s time to lay the foundation. A sturdy foundation is crucial for ensuring the shed’s stability and longevity. There are several foundation options to choose from, including concrete slabs, gravel pads, or skids made from pressure-treated lumber. For a beginner builder, a simple gravel pad or skid foundation might be more manageable, as they don’t require the same level of expertise as a concrete slab.
With the foundation in place, it’s now time to build the shed’s frame. Start by erecting the wall frames using treated lumber, ensuring they are plumb and braced securely. Sheathing the walls with plywood or oriented strand board (OSB) will provide added structure and a base for the shed’s exterior finish. Next, turn your attention to the roof. Build the trusses or rafters, following a design that suits your shed style and local conditions. Cover the roof with plywood or OSB, and finish it with shingles or metal roofing.
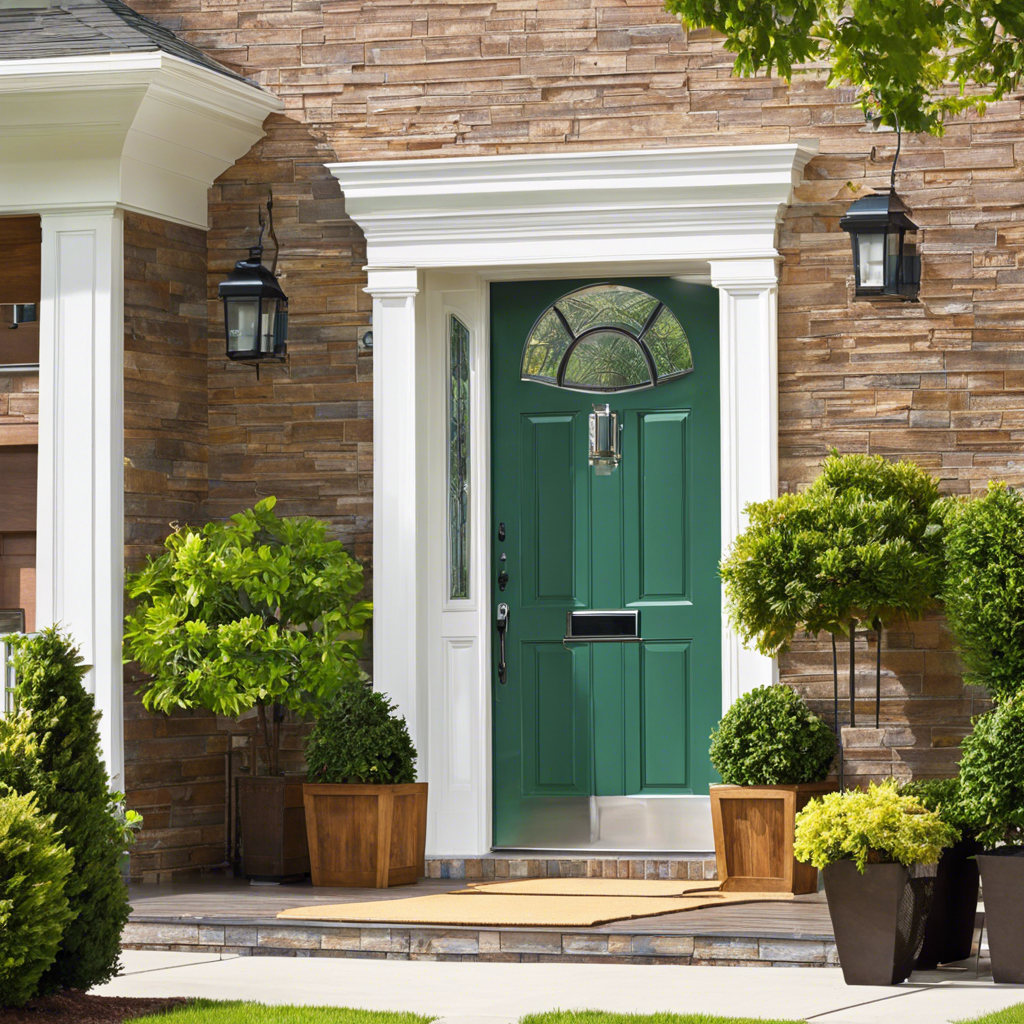
Windows and doors are next on the agenda. Install them according to the manufacturer’s instructions, ensuring a weathertight fit to keep the elements out. You can now turn your focus to the shed’s exterior, choosing a finish that suits your style and budget. Options include wooden clapboards, vinyl siding, or metal cladding. Don’t forget to paint or stain the exterior to protect the materials and add a personal touch.
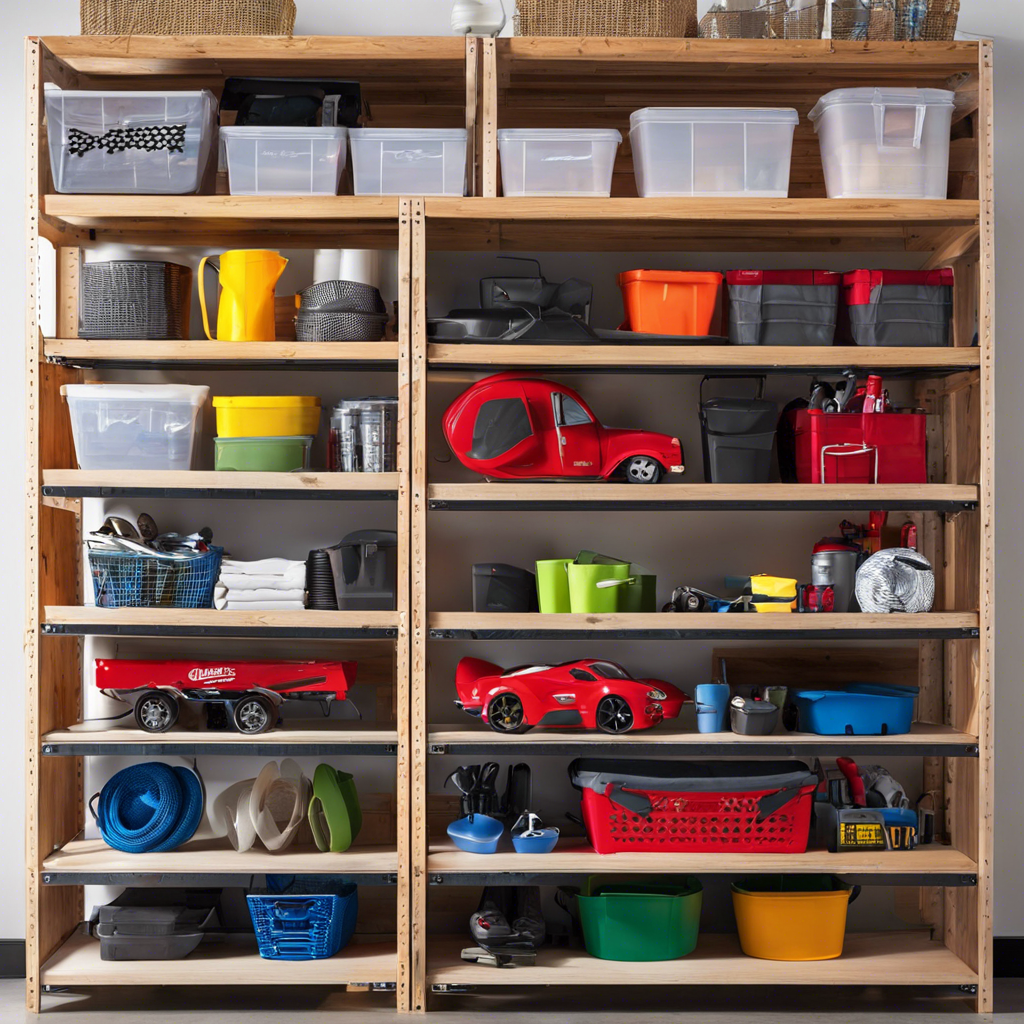
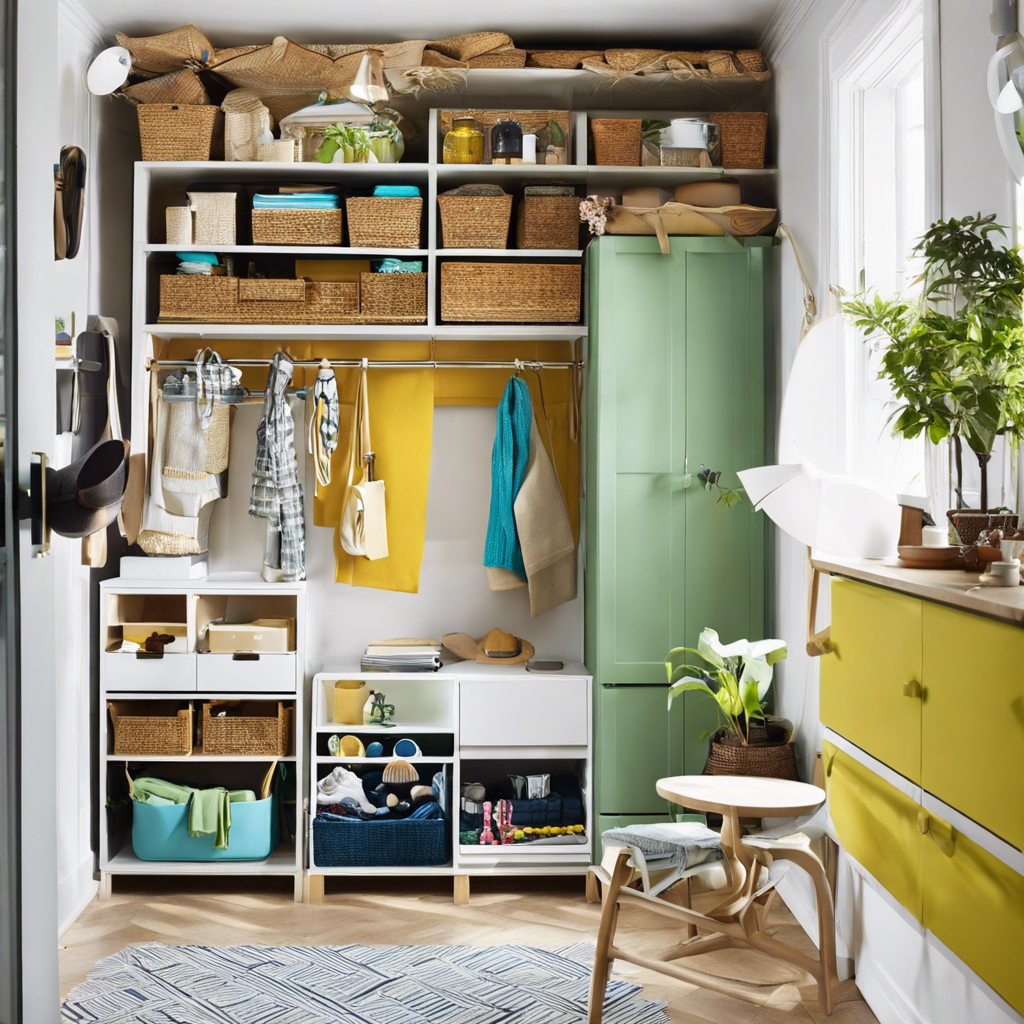
The final steps involve putting the finishing touches on your garden shed. This includes adding shelves, racks, and pegs to organize your garden tools and supplies efficiently. You can also add electrical outlets and lighting if you plan to use power tools or need illumination during early morning or evening gardening sessions.
Now that your garden shed is complete, it’s time to sit back, admire your handiwork, and enjoy the benefits of having a functional and attractive addition to your backyard space. Happy gardening and happy shedding!
I hope this article was helpful and provided a clear guide to building a garden shed.